Wellbeing notes: Mulled apple juice recipe
01/10/2024 at 11:18 am | Posted in Wellbeing notes | Leave a commentTags: apples, autumn recipe, cinnamon, healthy life, mulled drinks, recipe, simple life

Apples are linked with so many customs and legends, from apple dunking at Halloween, to the story of King Arthur and his final journey to the isle of Avalon (from aballon, the old Welsh for ‘apple’). It can be wonderful to walk our local fields at this time of year where, in places, crab apples cover the ground in a bobbly green carpet; or to stroll in our villages where branches festooned with blush-red apples hang over garden walls. As the days grow colder, apples seem to work especially well with spices, which are traditionally used to enhance immunity, reduce inflammation and relieve painful joints.
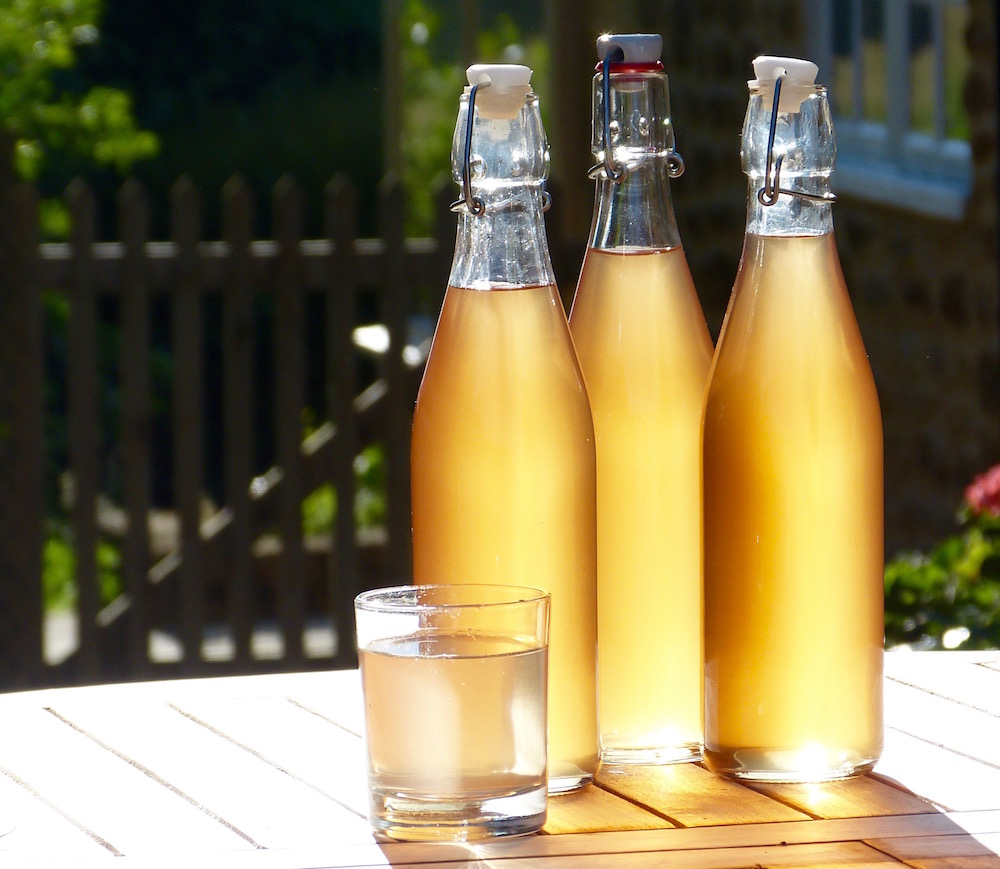
One of my favourite October recipes is mulled apple juice. It’s easy to make, fragrant, warming and positively good for you. Feel free to vary the flavouring as you wish. You might add nutmeg or cloves, and perhaps orange peel or fresh ginger. I added six damsons recently, which created a rosé version, as illustrated here.
Ingredients
1 litre apple juice
1 orange
2 cinnamon sticks
2 star anise
Optional: 1 dsp honey
Method
Pour the apple juice into a saucepan and gently heat.
Squeeze half the orange into the apple juice. Slice the other half and put aside.
Add the cinnamon and star anise.
Simmer gently for around five minutes. Add the orange slices, and honey if using, towards end. Pour into glasses and enjoy.
Wellbeing notes: Banana bread/tray bake recipe
01/02/2024 at 11:40 am | Posted in Uncategorized, Wellbeing notes | 2 CommentsTags: hygge, imbolc, recipe, simple pleasures, wellbeing
There’s something about February. The land is just beginning to warm up, the days are becoming longer, and the snowdrops and aconites in nearby Lacock Abbey gardens are splashing the ground with beauty. After a bracing walk outdoors, it’s the perfect time to enjoy simple home comforts – including, very possibly, some easy baking.
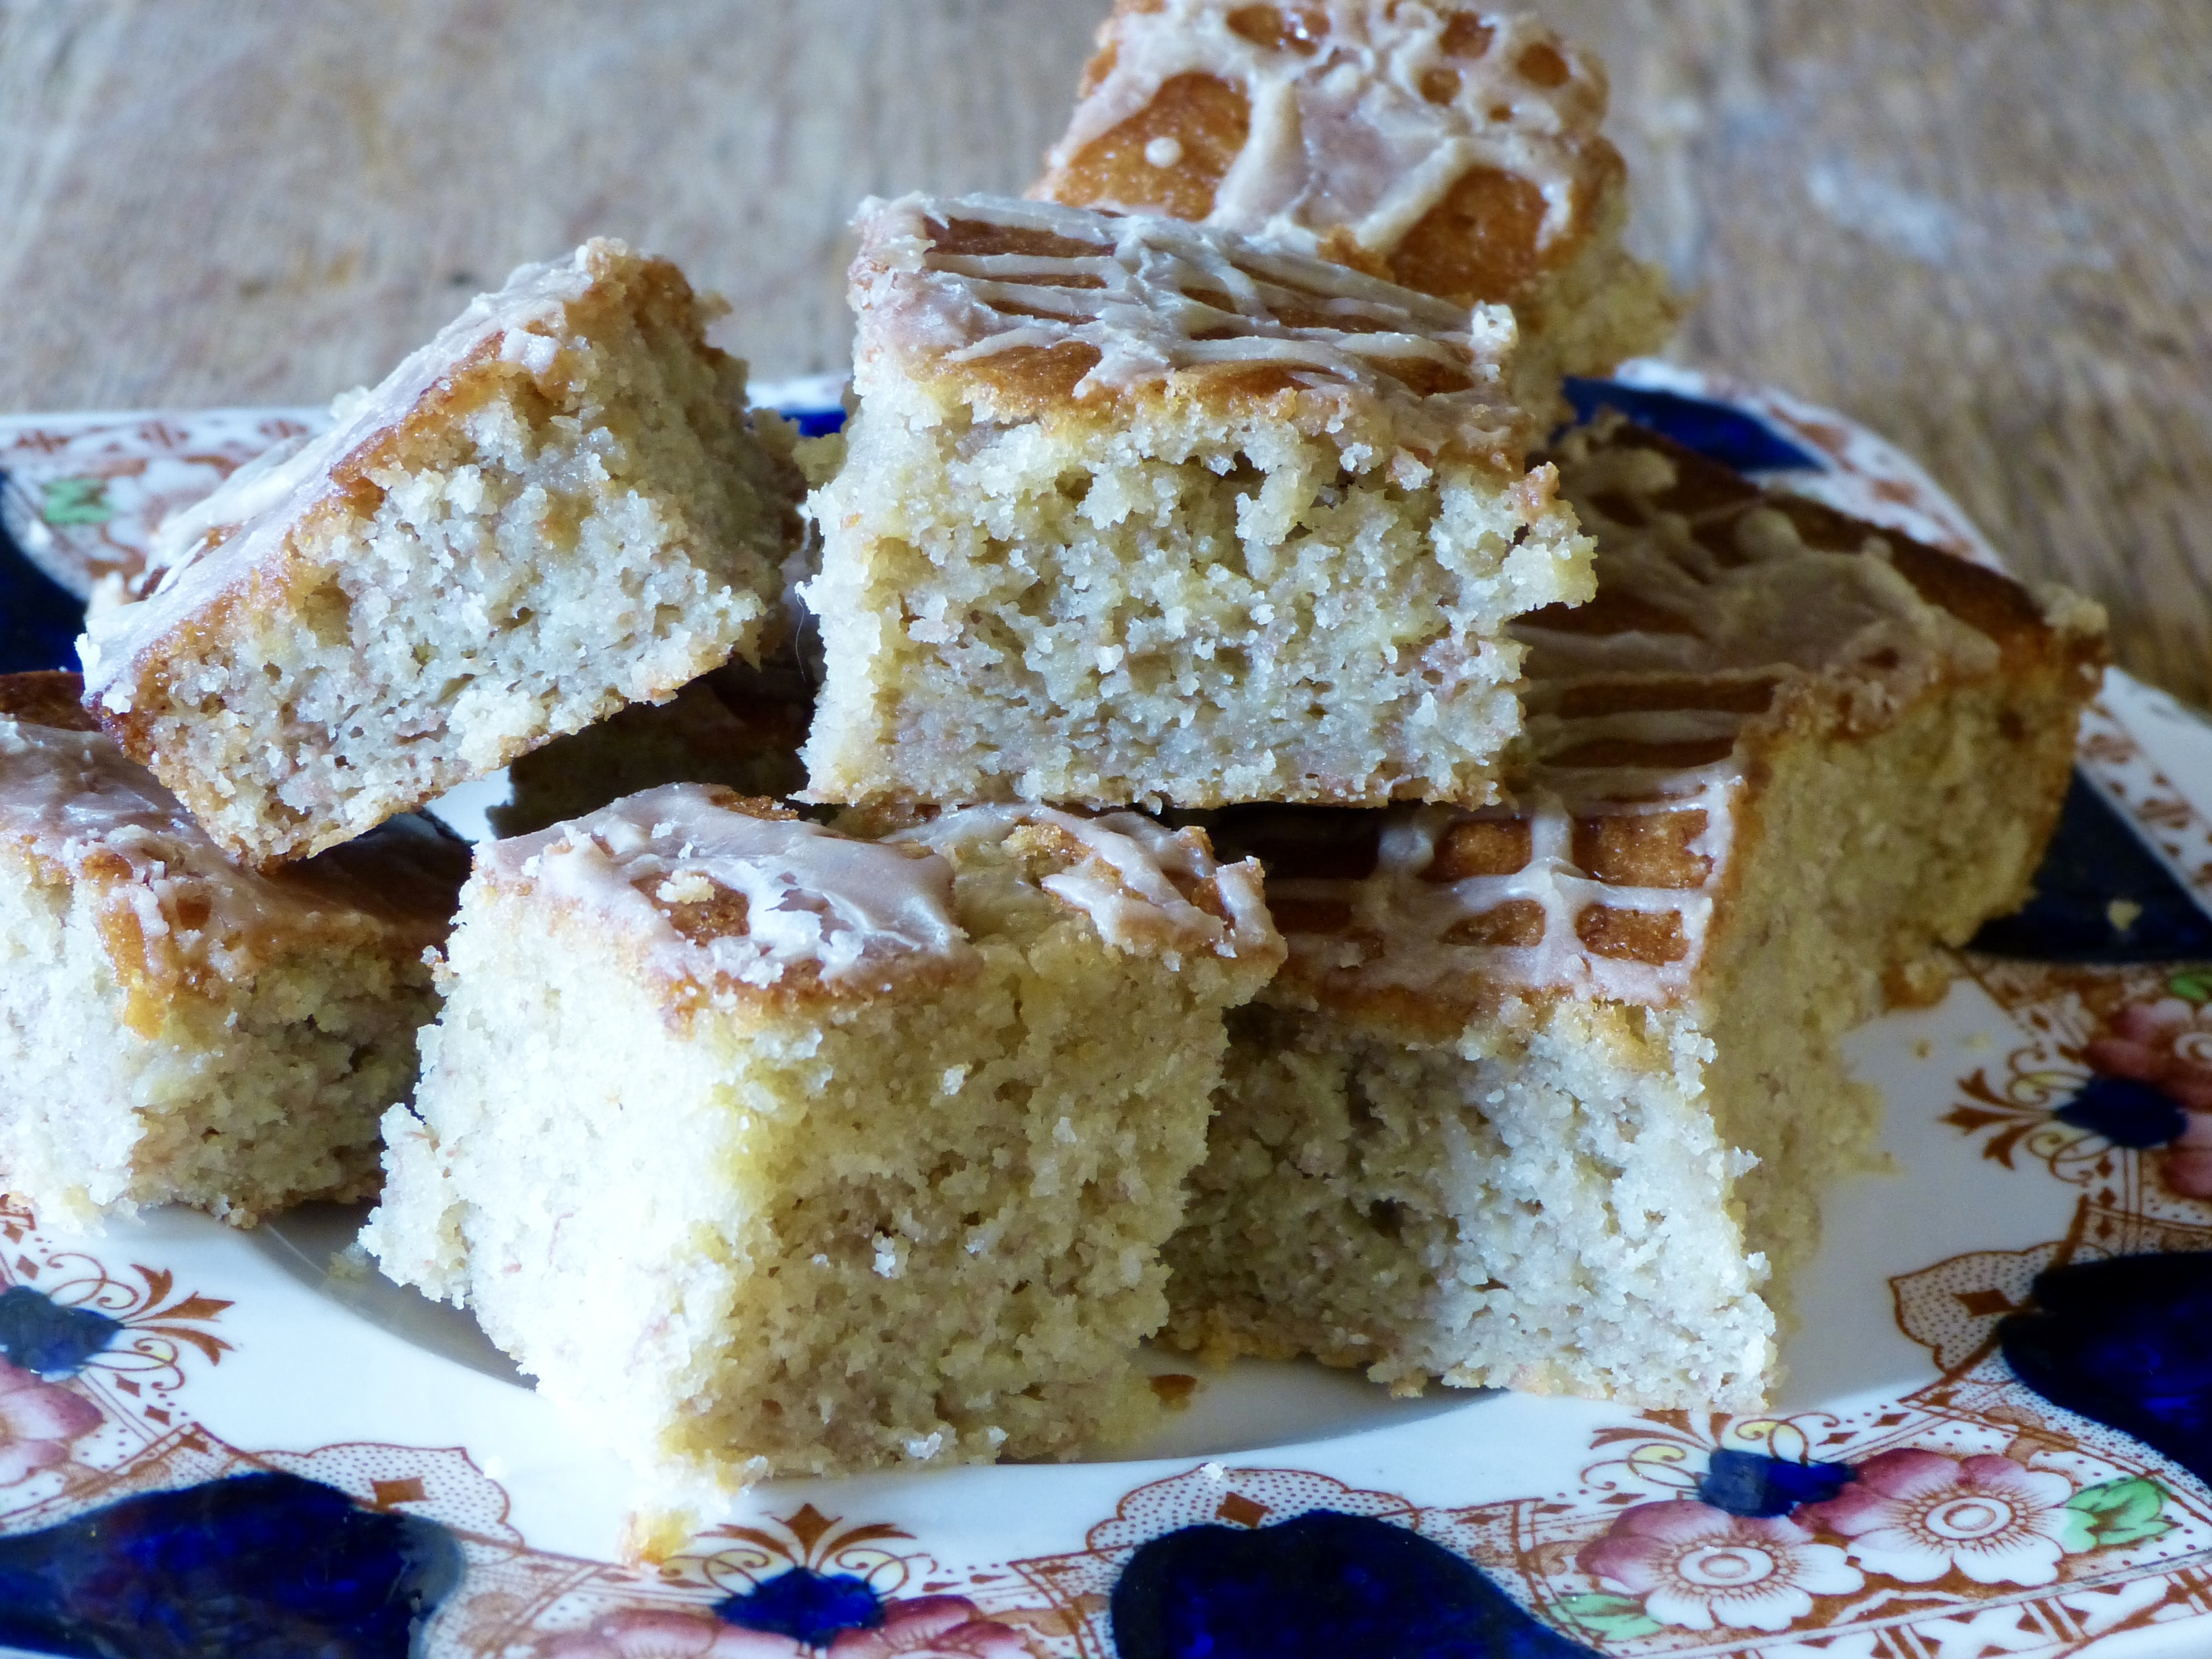
One of my family’s favourite everyday recipes is banana bread. The version we like best comes from BBC Good Food. All you need is 140g each of butter, sugar and self-raising flour, two eggs, one teaspoon of baking powder and – of course – a couple of very ripe, mashed bananas.
Instead of the caster sugar that the BBC recipe calls for, we make use of whatever sugar is in the kitchen: granulated, or perhaps soft brown. We’ve discarded the old loaf tin in favour of a silicon, traybake mould –18cm x 18cm – which bakes quicker. When it’s out of the oven we drizzle it with around 70g icing sugar dissolved in a few teaspoons of water. And, as soon as it’s cool enough, we cut it into springy, fragrant squares roughly the size of a cupcake. There should have been more slices to include in this illustrative photo, but half of them were eaten straight away!
Banana bread is a great example of kitchen therapy – simple dishes, made mindfully, can be hugely soothing to the cook. The traybake pictured here was made during stormy weather, and the contrast between howling winds outside and cosy domesticity indoors is something to be cherished.
Wellbeing notes: Coconut flapjack recipe
01/09/2023 at 9:28 am | Posted in Wellbeing notes | Leave a commentTags: oats, recipe, simple pleasures, sweet treats, wellbeing

Back in the 1970s, I was given a new, blank recipe book. The first treats I added were simple, buttery flapjacks, which tasted lovely, but were… gooey. Over the next two decades, in a string of London kitchens, I tweaked the original ingredients. The notebook filled up, but the flapjacks remained a favourite. They were so easy to make, and almost everyone liked them.
In the 2000s, cooking times were adjusted for an old Aga that I acquired, in Wiltshire. But then, unaccountably, the recipe book was put on a shelf and forgotten. Not any more, though. “Oh, my goodness, these are amazing,” said one friend. Another mentioned that oats and coconuts have lots of health benefits (some of the other ingredients, less so, but I reckon home-baked snacks are broadly better than packaged sweets). A few asked for the recipe. So here it is.
Ingredients
170 g butter
1 tbsp honey
1 tbsp golden syrup
170 g demerara sugar
280 g oats
30 g desiccated coconut
Handful of sultanas
Optional: 30 g chocolate chips
Method
Set oven at 150ºC (fan-assisted)/170ºC (conventional) or use baking oven of Aga.
Butter and line a square 7”/18cm baking tray.
Slice the butter and melt gently in a pan. Add honey and syrup, then sugar. Stir from time to time until dissolved.
Add oats and coconut to a large bowl. Pour melted mixture over and mix well. Stir in sultanas, and chocolate chips if using.
Transfer mixture to baking tray and press down with the back of a spoon.
Bake for 16 to 20 minutes, or until browning slightly at edges.
(If using Aga, place on oven shelf on floor of baking oven, or use roasting oven with cold shelf above.)
Remove from oven and leave to cool thoroughly before cutting into squares.
Wellbeing notes: iced tea recipe
01/07/2023 at 1:13 pm | Posted in Uncategorized, Wellbeing notes | 1 CommentTags: honey, iced tea, lemons, mint, oranges, recipe, summertime, tea bag recipes
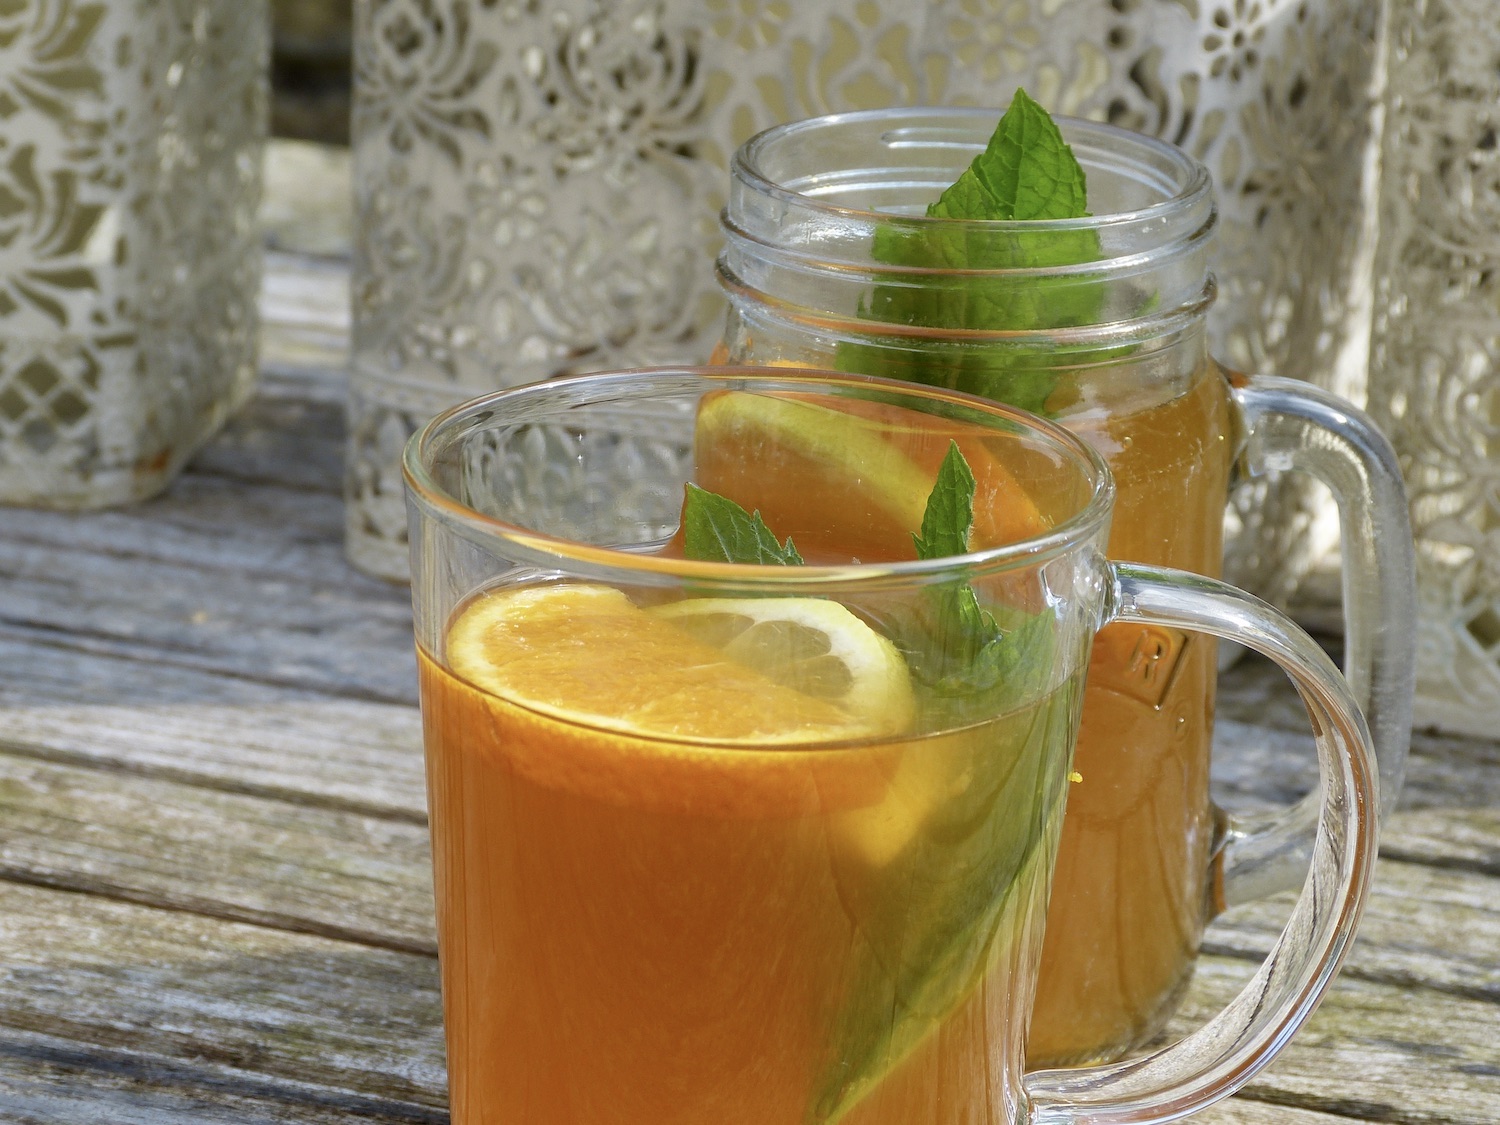
Melody, the main character in the story I’m writing, was feeling hot and sticky. So, she made iced tea for a friend and herself. As Melody steeped tea bags, sliced lemons, and plucked mint leaves from the garden, I became more and more tempted to make some for myself.
Iced tea always makes me think of rocking chairs on cool verandas in the sunny southern states of America. But it happens to suit England in the summer extremely well. Delicious, cooling and refreshing, the caffeine content brings a reviving kick; and citrus fruit’s health benefits are always welcome. Iced tea is easy and inexpensive to make. Chances are, the few ingredients are already in the kitchen.
This is the recipe that I tend to use. It’s adapted from BBC Good Food’s Easy Iced Tea recipe.
Ingredients
1.5 litres cold water
2 tbsp golden granulated sugar
1.5 tbsp liquid honey
6 tea bags
2 lemons, one sliced, one juiced
2 oranges, one sliced, one juiced
1 or 2 sprigs fresh mint
Method
Pour the cold water into a large jug. Add sugar and honey; stir to dissolve.
Add teabags. Steep for ten minutes.
Remove tea bags and discard. Chill in fridge until ready to drink.
Add lemon slices and juice, orange slices and juice, and mint leaves torn roughly in half. Serve in tall glasses with ice.
Lift your mood with lavender
14/06/2018 at 7:56 pm | Posted in Uncategorized | 6 CommentsTags: anxiety, depression, healing, Health, herbs, Lavender, Mind body spirit, natural remedy, recipe, self-care

In a week when a study showed that over a third of all medicines can cause depression, it’s worth remembering that simple remedies from nature can lift your mood. Lavender is one of the very best that you can rely on.
Run your fingers gently through a lavender plant that’s just come into bloom, and you will instantly relax with the characteristic, uplifting, restful scent. Inhaling lavender is proven to reduce levels of anxiety and stress.
A few drops of lavender essential oil on a tissue placed near you at night or near your desk will calm the mind and nerves. Diluted in a carrier oil and rubbed into the skin, molecules of soothing lavender have been found to enter the bloodstream and deliver pain-reducing, mildly sedative benefits. Lavender oil in an intensive care unit or hospital ward can reduce the levels of body-disrupting sedation required.
Lavender spray recipe
This is a simple and delightful way to feel the benefits of lavender.
Take a clean and empty 100 ml bottle with a fine spray attachment. Add 15 ml of vodka, 80 ml of spring or other water, and 40 drops of lavender essential oil. Put the lid on the bottle and shake. Spray on yourself, around rooms or around your bed at night for instant, soothing relaxation.
Do you have a favourite method of using lavender?
Seven steps to perfect kefir
02/04/2017 at 8:23 am | Posted in Uncategorized | Leave a commentTags: fermented foods, Health, kefir, learning disability, life skills, probiotics, recipe, smoothie bowls, smoothies, special needs

Update: When I wrote this post, kefir was relatively unknown. Today, even though it’s widely available in supermarkets, I still make my own. I do believe that home grown kefir is best, and it’s remarkably easy to make. Read on for the instructions….
This is a fantastic way to look after your gut, and overall health and wellbeing too. I first discovered kefir in 2003, when I took my young son with physical and learning disabilities to see a nutritionist. “Feed him fermented foods,” was her advice. She knew that fermented foods are rich in probiotics that keep the gut healthy.
I went home, did a little research and have been making kefir ever since. The almost-fizzy, almost-lemony, definitely vibrant taste is curiously addictive. Home-made kefir is well and truly alive. And when you drink it, you get to feel that way too.
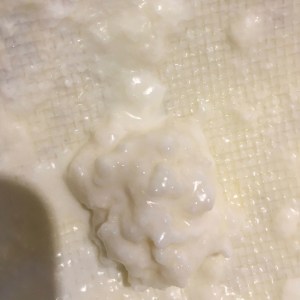
In brief, kefir is made from a complex symbiotic culture of beneficial bacteria and yeast. This culture looks rather like a lumpy spoonful of rice pudding, but feels more gelatinous than that. Sounds lovely so far! Here’s a close-up:
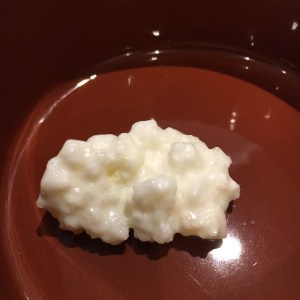
You put the culture into a pot of milk, leave it in a reasonably warm place for 24 hours, then strain the resulting creamy liquid through a plastic sieve. The rice-pudding-like culture is left in the sieve, ready to be placed into a new pot of milk. The kefir itself is ready to drink. It’s so easy.
To make kefir, you first need some of the culture. If you’re lucky you may get this from a kefir-making friend. Otherwise, it’s possible to buy on-line. Do not, please, make the mistake of getting sachets of ‘kefir starter’. You want the real-deal lumpy, bumpy culture. Once you’ve got that, you can keep making kefir from your original culture indefinitely. It grows, and it grows.
Kefir has become increasingly popular since I first started making it. More and more friends are giving my excess culture a home. Every time, of course, instructions are required. So I thought it would be useful to share those instructions on-line. Once you’ve got your culture, just follow these easy steps.
Instructions
1. The most important thing: be aware that your kefir culture is a living, amazing community of beneficial bacteria and yeasts which bring great benefits to the digestive system and beyond. So always treat it kindly and with respect.

2. Now for the practical bit. Your kefir culture has likely arrived in a small pot of semi-skimmed milk ready to do its stuff. Or it may have arrived in a small bag with just a few spoonfuls of kefir liquid. It may be small enough to fit into a teaspoon, or large enough to fill a dessert spoon. (But please keep it away from direct contact with metal – it doesn’t like it.) Say hello to your culture, put it in a plastic or glass pot, and add approx 150 ml milk: semi-skimmed, whole or goat’s milk. (Note, illustrations here show a larger quantity than you’ll likely start off making.)

3. Rest a lid lightly on top of the pot – kefir needs to breathe, while protecting it from its environment. Put the pot somewhere reasonably warm – the kitchen may well be warm enough, but depending on where you live, you might choose to place it by a radiator, warm pipes, or in an airing cupboard. The ideal temperature range is probably around 21ºC or 70ºF.
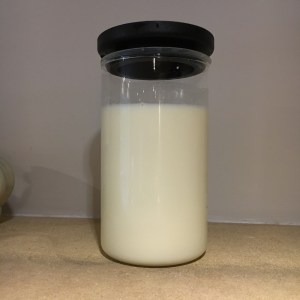
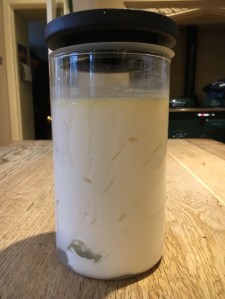
4. Wait. In approx 24 hours or more – it could take up to two to three days – it will look like the picture below. Note the little lines of whey down the sides of the jar. Depending on temperature, size of culture and volume of milk, it may look less cultured than this, or more. If left longer it could separate completely between curds and whey. It would also have a correspondingly strong, almost cheesy taste.
5. Pour the kefir mixture into a plastic sieve over a bowl or container. Gently push the kefir mix to and fro with a plastic spoon or spatula to encourage it through the sieve. Use a scooping action to avoid squashing the culture too much (though it’s quite elastic). Make sure you’ve got all the kefir and more importantly the culture out of your original pot. Avoid having metal come into contact with the culture itself. I’ve never tested this, but over time it could distress the culture and make it less viable. (However, later, if you make a kefir smoothie or add it to your cereal, it’ll be fine to use metal utensils.)

6. Keep sieving gently. Soon you’ll see the culture sitting in the bottom of the sieve. Your culture may be in one or more pieces.
7. Carefully scoop the culture up and place it in a clean container. You can optionally add a spoon of kefir from the last batch if you wish. Pour your chosen milk over the kefir culture. You can use semi-skimmed or whole cow’s milk, or goat’s milk depending on your taste. (If your kefir formed quickly last time around, you could gradually increase the volume of milk over successive cycles.) Place it somewhere reasonably warm, as before, and let a new cycle begin!
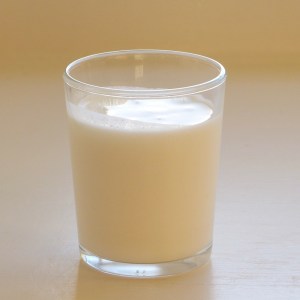
Meanwhile, enjoy your kefir straight from the fridge, or follow the recipe suggestions below.
Foodie tip
Make your kefir over the normal cycle – about 24 hours or longer. Then put it in the fridge for 2 to 3 days. Sieve as normal. Kefir made this way has a creamier consistency.
How much kefir should you drink?
A small glass of kefir once a day is ideal, but it’s fine to drink more (or less). If you’re new to kefir, start with small portions ( up to 100 ml a day) then build up.
Recipe suggestions
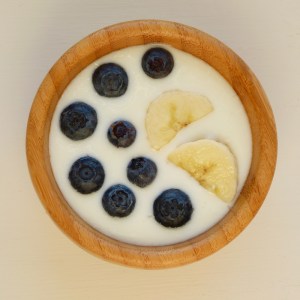
You can drink kefir unsweetened or with a teaspoon of honey or maple syrup if you prefer. Many people like to add it to cereal in the morning, instead of milk or yogurt. It’s yummy in a small bowl with fruit. It’s also good to drink just before bed. Don’t heat kefir up or cook with it though, as then it will no longer be alive – and it needs to be alive to do its magic in your digestive system!
What to do with your excess culture
Your culture will grow with each new cycle. When it’s doubled in size or more, you can divide it. You can store spare culture in a spoonful or two of kefir in the freezer as back-up in case your original culture fails or you lose it; you can whizz it up in smoothies; you can compost it. You can also store spare culture in the fridge in a small pot of milk – change the milk weekly.
A final note
Kefir is very easy and inexpensive to cultivate. Although it’s important to keep your kefir equipment clean, the culture itself quickly creates a mildly acidic environment that deters unfriendly bacteria.
Enjoy your kefir, and just ask if you’d like to know anything else. Or feel free to share your recipe ideas below.
Recipe: summer flower cordial
24/06/2016 at 6:20 pm | Posted in Uncategorized | 1 CommentTags: nature, nature recipes, naturecraft, recipe, wellbeing
This delicious summer drink is prepared over two fragrant, flower-filled days. It makes approx 2.5 litres.

Day One
Take 20 or so elderflower heads with thick stalks removed, add a handful of rose petals (I used a mix of wild roses with some fragrant garden ones), seven sprigs of lavender, two sliced lemons and two handfuls of wild or cultivated strawberries. Meanwhile, add 1.3 kg sugar to 1.8 kg just boiled water in a big bowl. Stir to dissolve, creating syrupy water.

Add all ingredients to the bowl of syrupy water, cover with a cloth and leave for 24 hours.
Day Two

Strain mixture through a clean muslin cloth or old clean pillow case. Squeeze well to extract the juice. Pour the fragrant cordial into bottles.
Drink diluted with water. Delicious! Also goes well with sparkling water, tonic water or even ginger ale.
Feel free to vary the flowers and fruit according to what you can find. That’s all part of the fun.
Website Built with WordPress.com.
Entries and comments feeds.
